How to Do Backups the Right Way: etcd (Kubernetes), rsync, Copying, and Archiving
There are two types of people: those who make backups—and those who are about to start.
Why bother making “dumps” when everything is working right now? Because a backup isn’t just “a file for later” sitting somewhere in a corner to ease your conscience. A backup is your path back to life when something goes wrong. And sooner or later, something does go wrong for everyone: a failed upgrade, human error, a suddenly dead disk, a full volume, an automation bug, an accidental kubectl delete in the wrong namespace—and your “stable” system turns into a survival race.
So we don’t create backups for a checkbox—we do it for a clear outcome:
- To recover fast (this is RTO—how long we can afford to be down)
- To avoid losing more data than acceptable (this is RPO—how “fresh” the data must be after recovery)
- Most importantly—to verify in advance that you can actually restore from these backups, instead of discovering during an incident that the backup “exists,” but it’s corrupted, incomplete, or nobody has ever tested a restore.
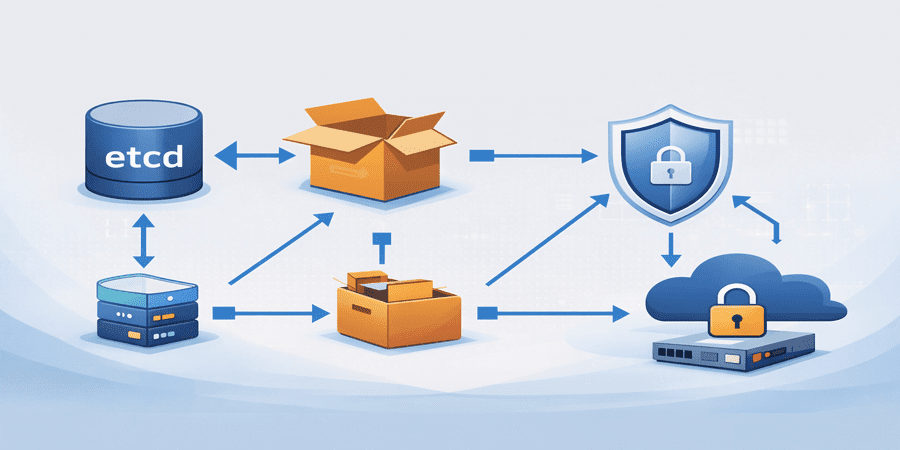
Backing up Kubernetes via an etcd snapshot
What exactly we back up when we take an etcd snapshot
etcd is the key-value database that stores the “brain” of Kubernetes: API objects (Deployments, Services, Secrets, ConfigMaps, CRDs, and so on).
An etcd snapshot is a point-in-time capture of the API state.
Important: an etcd snapshot does NOT replace application data backups (databases, files, PVCs)—it covers the control plane state.
Preparation: what to check before taking a snapshot
1. The cluster and etcd are healthy;
2. You have access to etcd certificates (usually on the control-plane node);
3. You have a place to store the snapshot file (ideally not on the same disk).
On the control-plane node, etcd certificates are typically located at /etc/kubernetes/pki/etcd/.
sudo -i

export ETCDCTL_API=3
TS="$(date +%F-%H%M%S)"
DIR="$HOME/dump/etcd"
mkdir -p "$DIR"

etcdctl \
  --endpoints=https://127.0.0.1:2379 \
  --cacert=/etc/kubernetes/pki/etcd/ca.crt \
  --cert=/etc/kubernetes/pki/etcd/server.crt \
  --key=/etc/kubernetes/pki/etcd/server.key \
  snapshot save "$DIR/snapshot-$TS.db"
Verify the snapshot
etcdctl snapshot status "$DIR/snapshot-$TS.db" --write-out=table
sha256sum "$DIR/snapshot-$TS.db" > "$DIR/snapshot-$TS.db.sha256"
With these commands, you’ll get a snapshot-YYYY-MM-DD-HHMMSS.db file and a sha256 checksum.
The #1 backup mistake: “the dump is nearby—so it exists”
The most common—and most expensive—backup mistake sounds innocent:
“I made a dump and put it in a neighboring folder on the same server.”
In practice, that’s almost the same as not having a backup at all.
Why? Because in real incidents, it’s usually not the file that “dies”—it’s the storage or the machine itself:
- a disk suddenly fails
- the file system gets corrupted
- the server goes down and needs a reinstall
- an administrator frees up space and “accidentally” deletes the dump folder
- ransomware/malware encrypts everything it can reach
- power issues, fire, hardware theft
If the dump lives on the same disk and the same host, it disappears along with the root cause.
That’s exactly why Oberset’s rule is simple:
A backup must live on a different physical server
Once you’ve created a snapshot / archive / copy—move it off immediately:
- to a dedicated backup server
- to a NAS
- to an external drive
- to remote storage
A backup must survive the death of the server it was created on!
rsync
rsync is a tool for reliable file copying and synchronization between servers (most often over SSH). Sysadmins love it because it moves data cleanly and predictably: it preserves directory structure, permissions, and timestamps, shows progress, and—most importantly—on subsequent runs it only transfers what has changed (so it doesn’t resend the same gigabytes). That’s why rsync is a great fit for backups and for offloading dumps to a separate physical server: fast, safe, and with minimal manual effort.
Below is a simple command that will send etcd snapshot files to a backup server and remove them from the current machine after a successful transfer:
rsync -av --remove-source-files ~/dump/etcd/snapshot-*.db \
  username@host:/backup/etcd/
# username — username ON the remote backup server (destination)
# host     — the address of that backup server (hostname or IP)
Even experienced administrators sometimes postpone backups “for later”—not because they don’t understand their importance, but because in daily routine it feels like there’s still plenty of time and the system is running fine. The problem is that failures almost never happen “on schedule”: one bad change, an upgrade, a disk issue, or human error—and you discover that the last working copy was sitting in a neighboring folder on the same server. Proper backups are not just a couple of commands—they’re a habit: take the snapshot, verify it, and immediately move it to another physical node so the backup actually survives the incident. When this process is streamlined, operations become calmer: you can experiment, upgrade, and evolve without constant fear of “what if everything goes down.” If you want to implement backups without pain and ensure they truly restore, the Oberset team can help you build a reliable backup and storage workflow for your infrastructure—from Kubernetes/etcd to files, archives, and regular restore tests.